
The Container Row Block has been the one of the tools for us to create complex layouts in our Gutenberg driven website. It’s probably one of your best choice of blocks in our plugin too!
So far with Gutenberg, without block plugins like Kioken Blocks, it’s not super easy creating advanced layouts. Thanks to the Container Row block, today we will get started with seeing what we can do to go beyond just columns aligned next to each other. This will the first of a series of container row block tutorials to come.
The Z-Index Columns
In order to overlap columns on each other, the z-index property of columns inside the Container Row comes in handy. The Z-Index value represents the layer order of an element in a document. The higher the value, higher the element stacks above others in the hierarchy. Check out the video of explaining what it does:
Today we will create a 3 columns layout with the column in the center overlapping on the other ones with the use of Container block.
Step 1: Insert Container Row Block with Image Content
Let’s insert the container row and choose 3 columns layout. And then insert some images with image box block into each column. I’ve also set the Container Row gutter to None. Each image box is 300px in height, while the one in the middle is 400px.
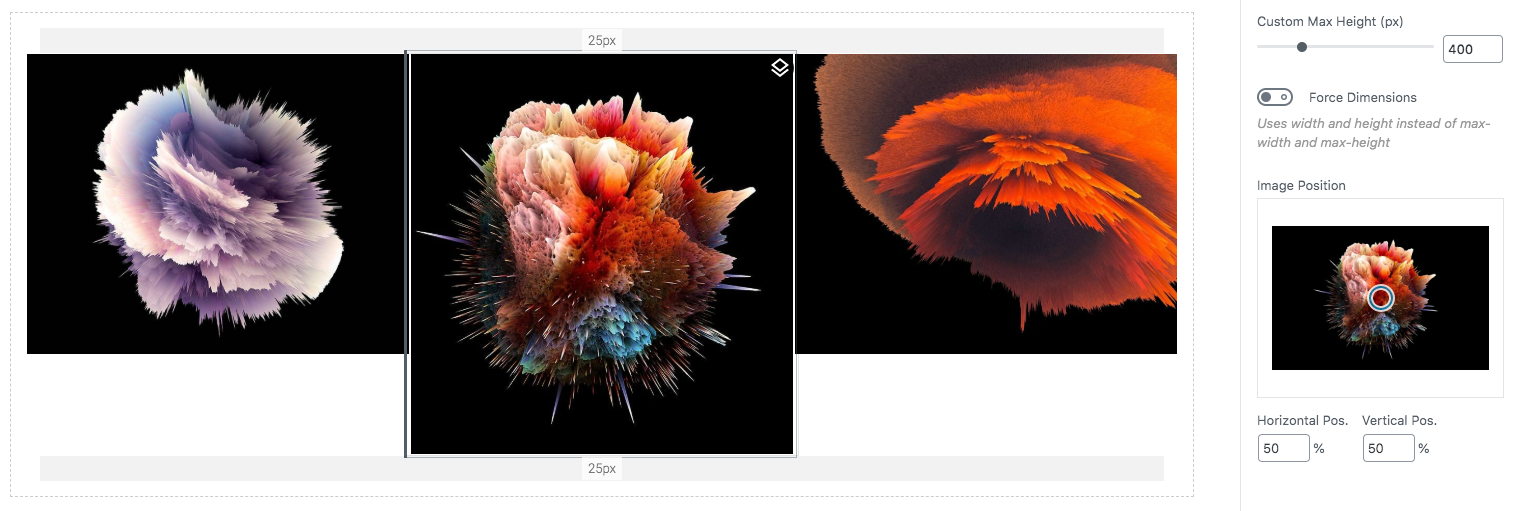
Let’s insert the container row block and choose 3 columns layout. And then insert some images with image box block into each column. I’ve also set the Container Row gutter to None. Each image box is 300px in height, while the one in the middle is 400px. Giving a higher value to the image box block in the middle column is our first step making it stand out more than the others.
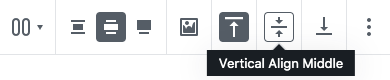
Next, click on the Container Row to see it’s toolbar options and select Vertical Align Middle from the toolbar.
Now we have a vertically center aligned 3 column layout. What we will do next is push out the center column even more.
Step 2: Negative Column Margins and Z-Index Assignment
If an element does not have a fixed width, giving it negative left and right margins extends it and relatively increases it’s width. This is what we will do for the second column. Lets head over to the column settings apply some changes to the columns:
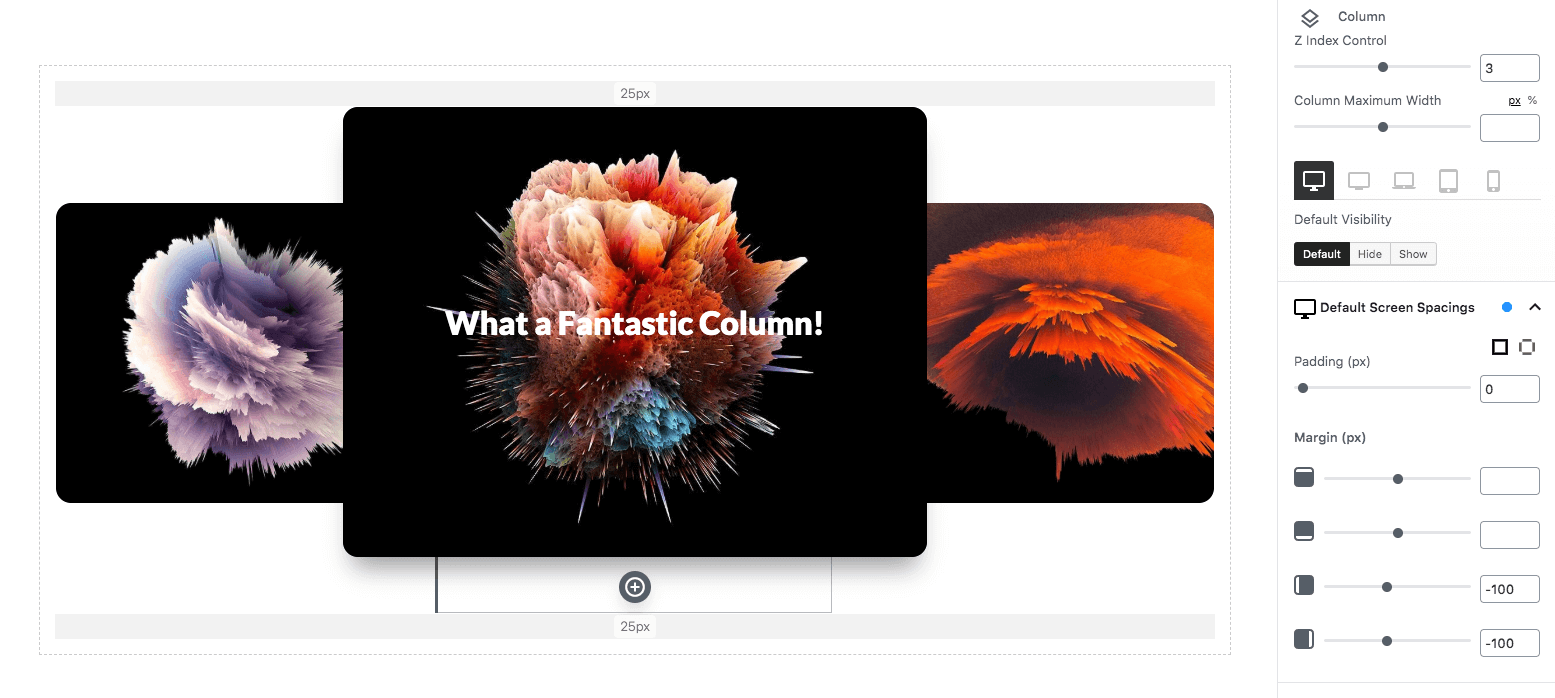
Apply negative horizontal spacing and Z Index values to the second columns like on the above image.
Oh and don’t forget resetting or adjusting those negative values to positive ones for mobile devices. You can access device specific spacing settings by clicking on the device tab icons. Here are the settings we applied to the columns:
And you have yourself a nice 3 column layout with center column pushed out. We applied a few more bits of settings such as shadow and border radiuses to image box, and enabled hover animations for this post.
Final Result:


Sweet! As you can see, it’s super easy getting started with building complex layouts. The negative margin trick on most of the blocks such as features and kinetic wrapper also works like magic. In combination with Z-Index, you can use top, bottom, left and right negative margin values to create modern offset layouts.
Here’s another example created with the same method:

I hope you liked this quick but nifty trick. Happy creating!
Wow! Just learned of Kioken Blocks! I’m excited!